Welcome

I'm so glad you decided to join me on my blog. I'll offer product tips, techniques and information. You'll also see the more personal side of our business. I hope you'll enjoy following us on this new journey. Carol

Showing posts with label Applique. Show all posts

Wednesday, April 22, 2015

Gracin's Angel

I love making these little Guardian Angels from Bird Brain Designs. In the past I have stitched out the designs, most of the time with Turkey Red Perle Cotton.


I wanted to make another one for my grandson, Gracin for his dedication day at church. However, I am having difficulties with my right hand so stitching is out of the question right now. I have turned other stitching designs into applique projects before. You can read the blog posts about them here and here. So I decided to make a machine applique angel for him. 

All of the angels looked like girls to me so I did a little adjusting to the pattern. Here is a picture of the original angel I chose and how I adapted it to look more like a boy. It also shows the fabrics I used. I have been saving jeans for years. I chose a pair of my husband's to use for the overalls. I thought that would give even more special meaning to the piece.


I traced the pattern pieces onto fusible web. I traced the entire shape of the body rather than breaking it down into smaller pieces. I actually ended up tracing a second body piece so I had one for the front of the angel and one for the back. Even though I could have used the circle from the body piece as the head, I decided to trace just the circle portion of it onto the fusible web for the face.


I then fused all of the pieces onto the appropriate fabrics. Here are all of the pieces cut and ready to assemble. The wings are cut from a small scrap of batting.


I positioned the wings where I wanted them on top of the back. I like to use an applique pressing sheet when I do fusible applique. You can see a good example of this in this blog post. I assembled all of the pieces for the front of the angel onto the pressing sheet. Then I put that whole piece on top of the back and batting and fused it together.

I used a blanket stitch to stitch around all of the fabric pieces. This is my favorite setting for this because the bite is relatively small. With tiny pieces I don't like the stitch to come in too far into the shape.


I free hand, free motioned a heart onto one side of the wings. It is really hard to get the batting stabilized enough to do that. I don't love the heart but he won't care.

I wrote a poem I found appropriate for the dedication inside a card. Then I wrote a little message to him on the back of the angel. Here's what he looks like all finished. I think he's pretty cute.


Happy Sewing, Stitching and Creating,

Carol


Sunday, March 16, 2014

Another Stitching Turned Applique Project

I've been changing up the Harvest Tea Towels pattern. Since I like to do different things, I decided that instead of stitching the designs on tea towels, I'm going to make it into a small wall hanging. I have one block left to finish stitching before I get to that project.


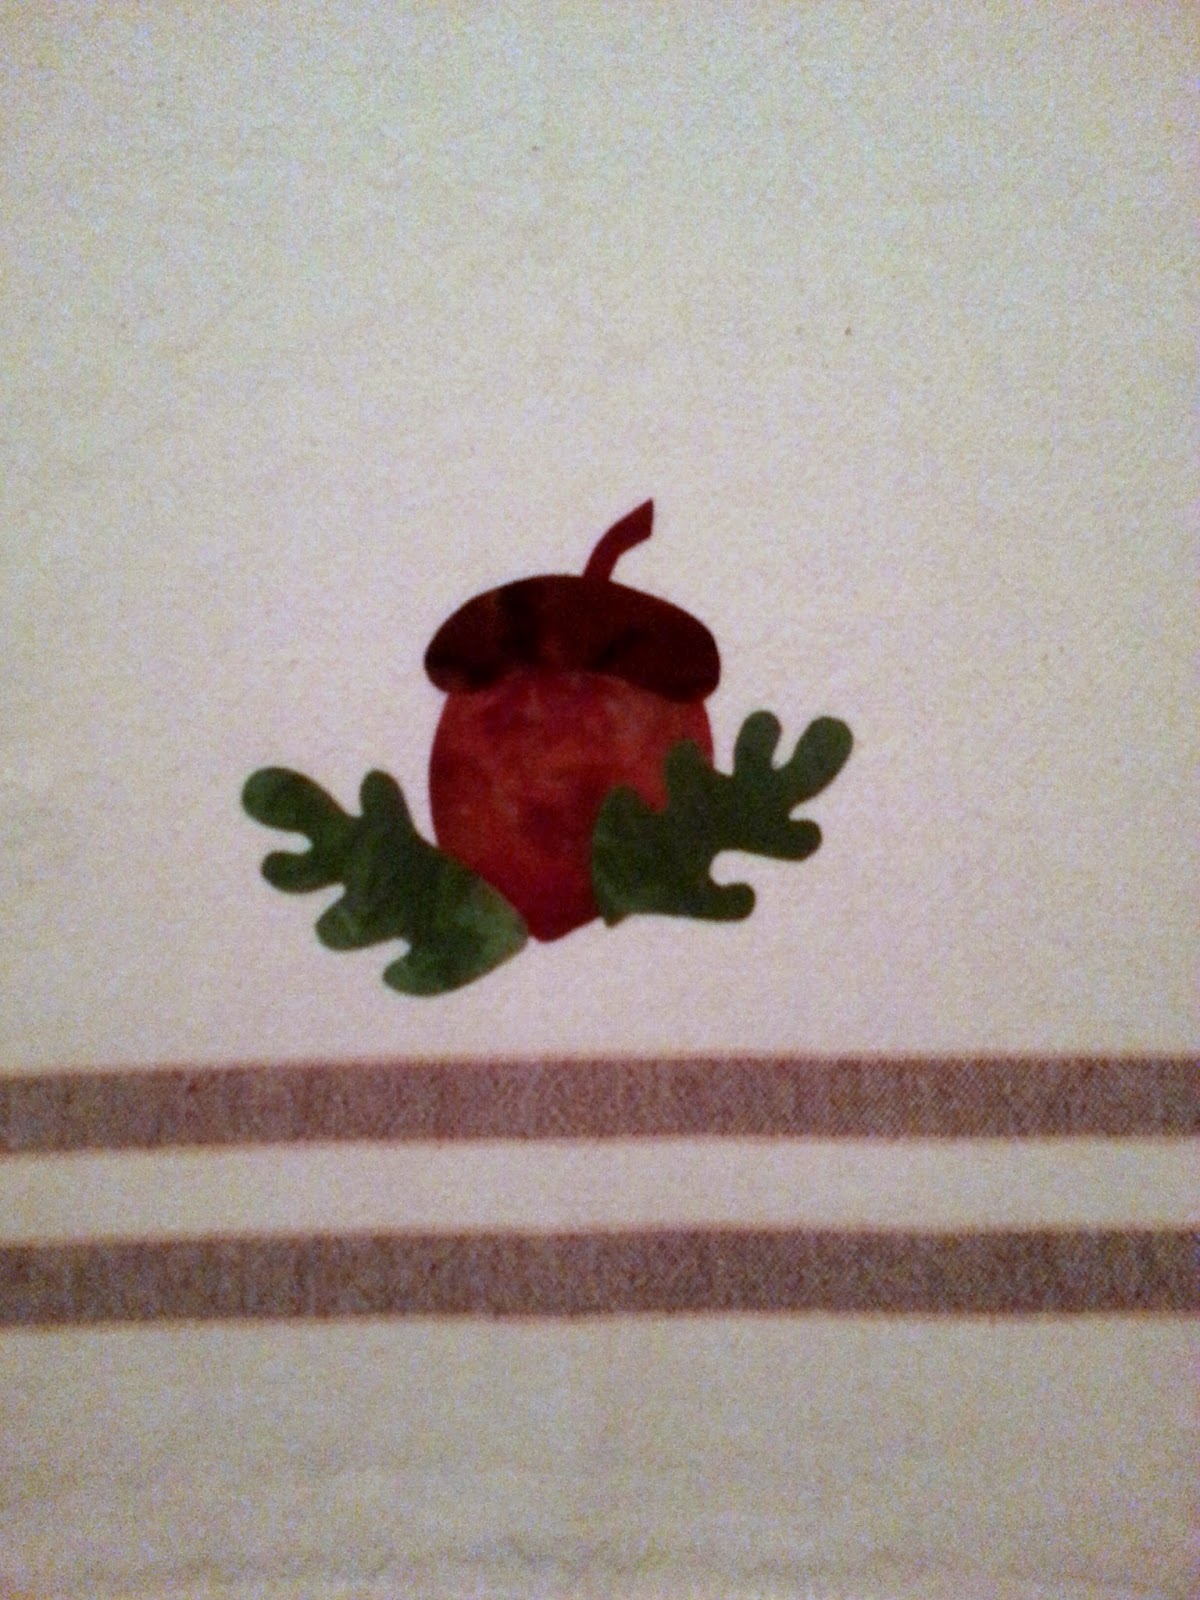
I recently finished the acorn block. While I was working on it I thought that it would make a nice applique block. 


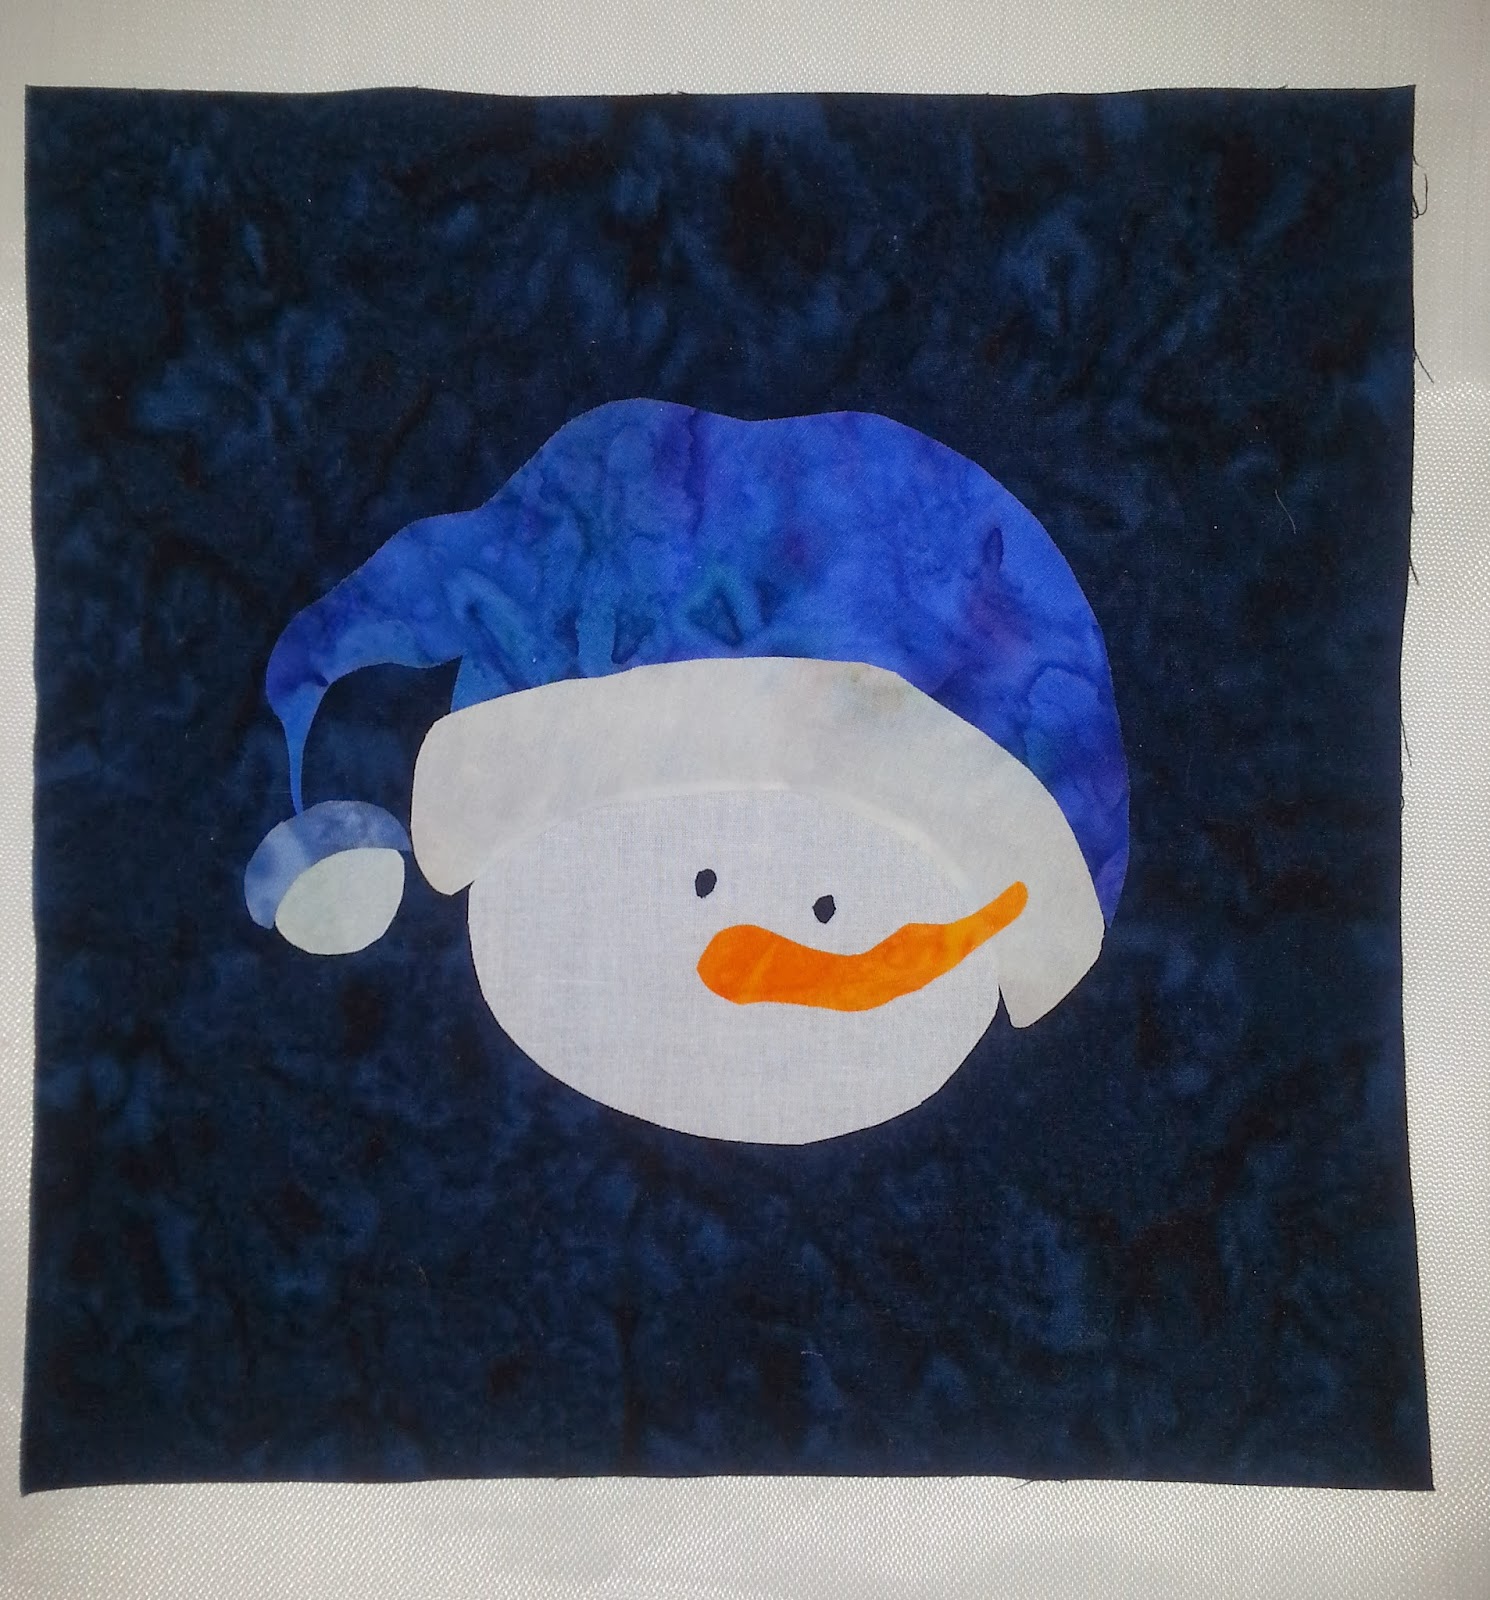
I played around with this concept in another Blog Post with the Snowman from the Winter Partners Pillows Pattern.


I decided to use a Brown Striped Tea Towel. I found these pretty fall batiks and hand dyes to work with. I like them for fusible applique because they have a high thread count. A tea towel will be washed so I wanted fabrics that aren't likely to fray much.


I traced the REVERSE image of the design onto fusible web. Since the fusible goes on the wrong side of the fabric, if you don't reverse the design when you fuse it onto the background fabric (tea towel in this case) the image will be the mirror image of the drawing. This time I added a little extra to the pieces that will go underneath others, like the basic acorn shape and the stem. When I did the snowman I didn't do this and it made it a little harder to put the pieces in place. I decided not to add the bird. I kind of have a problem with the scale. Either the bird is super tiny or the acorn is HUGE. I roughly cut around the pieces and fused them to the wrong side of my fabrics.


I cut out each individual piece. I used an Applique Pressing Sheet (See previous Blog Post) to make the fusing process much easier.


I put each piece in place on top of the Pressing Sheet using the pattern as my guide. Once I had it exactly how I wanted it I fused the entire design onto the Pressing Sheet. 


Now the whole thing is one piece which makes it so much easier to put onto the towel. I just peeled it off and placed it where I wanted it on the brown tea towel. Then I fused the design onto the towel. 


I put a tear away stabilizer behind the design. You could also use a wash away such as Sticky Fabri-Solvy. Since the towel will be washed the Sticky Fabri-Solvy will dissolve in the washer. You want the stabilier behind so that when you stitch around the design it doesn't pucker.


Most of the time I use a short blanket stitch on  my machine to stitch around the fused pieces. I have also used a satin stitch and a free motion zig zag. In this case all I wanted to do was stitch it in place. I wasn't worried about adding texture to the design so the blanket stitch worked just fine. This is the setting I used.


This was a fast and easy project. It took me about an hour from the time I decided to do it until I was done stitching around the design. It will be a nice addition to my home this fall. It would also make a nice gift.


Happy Quilting,

Carol


Sunday, March 2, 2014

Snowman - From RedWork to Applique

I love to think outside the box. Most of my quilts are done in color combinations other than what the designer used. I tend to take liberties with a design. One thing I've been contemplating for awhile but haven't had time to experiment with is taking a Redwork design and turning it into an applique design.

The project I chose to experiment with is the snowman from the Bird Brain Designs pattern Winter Partners.


I chose this one because the design is large and seemed like an easy one to adapt to applique. Here is the drawing of the snowman.


Remember if you want to do something like this and you want it to look like the original design you need to REVERSE the image. In other words trace from the wrong side of the drawing, Here's the pattern taped to my studio window (on a rainy Southern CA day) so I can trace on the wrong side.


I traced the images onto fusible web.


I then fused them to the wrong side of my snowman fabrics.

One of my "Must Haves" is an Applique Pressing Sheet. 


Here is the snowman drawing with the pressing sheet over the top of it. I know it is a little hard to see but if you look closely you'll see the snowman design. I use the Lightbox App on my phone but needed my phone to take the picture. So when I'm working with it, the lines will show up better. 


I'm going to fuse the entire design onto the pressing sheet. It will be one solid piece that I will then transfer onto the background fabric. Here's the snowman transformed into fabric.


I chose a dark navy blue as my background. I finger pressed it in both directions to find the center of the fabric.


Then I found the center of the snowman design. I positioned it onto the background matching both centers (the snowman and the background). Then I fused the snowman in place.


He's a little crooked.  Guess I didn't get find the exact center of the snowman. It's such a whimsical design that it just adds a little more whimsy. At least that's my story and I'm sticking to it - lol.

I realized after I got everything fused down that I should have traced the eyebrows and smile when I had the fabric on the pressing sheet. I placed the pattern on top of the design and used my Point Turner to trace an indentation onto the fabric. Then I followed that with a Black Micron Pigma Pen.

I squared up the block and now it is time to add the borders. Check back soon to see how I finish it. 

Happy Stitching and Quilting,
Carol