Welcome

I'm so glad you decided to join me on my blog. I'll offer product tips, techniques and information. You'll also see the more personal side of our business. I hope you'll enjoy following us on this new journey. Carol

Showing posts with label Fusible Applique. Show all posts

Saturday, February 28, 2015

Elsie's Birthday Banner

When  my first granddaughter, Tristyn was about to turn 1 I made a Birthday Banner for her. I attached Velcro to the two pennants in the middle and made numbers and st, nd, rd, th to put after them. So each year she can put the appropriate numbers and letters on there to customize the banner. The way I did the numbers I think she can use it until she's 98 years old.


I decided that this would be a great tradition for all of my grandchildren. It is a fast and easy project and one that I hope they will want to use for many, many years to come. With the birth of three babies last year I have multiple banners to make. Little Elsie is the first of them to celebrate this precious milestone.


I purchased the fabrics when I was working in the Sew Batik Booth at Road to California Quilt Show in January. The pattern is Celebration by CW Design Co.


I started by cutting the yellow dot fabric into 3 strips that were 10 1/2" by the Width of the Fabric. This is what I used for the pennants. I placed the template onto the fabric and made the first cut which also cut off the selvages. 


Then I lined up the template on the opposite side. Sometimes I could line it up perfectly and only had to cut one side. Other times it looked like this where I had to cut both sides. It just depended on which side I cut from first if I cut both sides or how much I over cut at the point.


I alternated like this until I cut all of the pennants. I chose to use the same fabric on the front and back so I cut a total of 28. I really only needed 27 because I used Blackboard Fabric for the space. Since the fabric was folded in half it was just easier to do the extra one. The Blackboard Fabric was much easier and will look way better than the Velcro method I used for Tristyn's. I may actually ask her if she wants me to swap those pennants out for Blackboard Fabric on hers.


I traced the letters onto fusible web. I like Steam a Seam2 Lite. It isn't as stiff as Heat and Bond and Wonder Under.


I used the turquoise fabric for the letters. I cut a piece of the fabric roughly the same size as the traced letters. I peeled the paper off of the fusible web and placed the sticky side of it onto the fabric. Since I was working with a batik I didn't have to worry about right and wrong sides. If I was using a different type of fabric, I'd want to make sure that I put the letters onto the wrong side of the fabric.


 Then it was time to cut out all of the letters.


I fused them onto the yellow fabric with the dots. I needed to make sure that I had enough clearance at the top so that the fabric that will string the letters together wouldn't cover up the letters. There also had to be enough room on the sides so that when it came time to pink the edges I wouldn't cut off the letters. I did a rough measurement of where the start of the small letters like a, i and r would start. Then I applied that measurement to things like the hump part of the h, b and d so all of the letters would be in approximately the same part of each pennant. I played around with positioning of the letters too. This is what I came up with.


I decided to use a Satin Stitch to stitch around the letters. Normally my choice of stitch for a fusible applique project is a Blanket Stitch. For this one I wanted to use a contrasting thread and I wanted it to define the letters. I experimented with several different stitch lengths and widths until I settled on .4 and 2.0.


If you just stitch onto the fabric at this point it is going to pucker. So I needed a stabilizer behind the fabric. Several years ago I learned that a really good and very inexpensive stabilizer for machine applique is sheets of Smart & Final Sandwich Wrap. It is a thin paper that peels off really easily when you're done. Depending on how much of this kind of work you do, one package could be a lifetime supply.


I determined that I needed 5" squares. I was able to get 4 from a single sheet so I cut 7 sheets into 5" squares.


I pinned them to the back of each pennant making sure that the letters were completely covered from the back. I tried to place the pins far enough from the letters so that they wouldn't be in the way as I stitched around the letter.


One thing I discovered as I was doing the stitching is that it was important to let the machine do the work. I just guided the fabric, especially around the curves. If I tried to feed the fabric through the machine the stitches were uneven.This is what the letter looks like after I stitched around it.


After I finished all of the letters I put the backing fabric behind each letter and behind the Blackboard Fabric pennant. I put the letter fabric piece on top and started in the top right hand corner of each pennant piece and stitched 1/4" around both sides. It wasn't necessary to stitch across the top because the "binding" goes there. Once I had stitched around all of the pieces I used a pair of pinking shears to cut close to the stitching. I chose this method rather than a pinking blade in  my rotary cutter because there were some places where the letters were so close to the stitching line that I didn't want to accidentally cut part of a letter.

The pattern calls for a package of  Wrights Extra Wide Double Fold Bias Tape (1/2"). I opted to make my own. Since the banner is going to curve you really need the bias tape or bias strips at the top. If you want to know how to quickly and easily Cut Long Bias Strips you can read this earlier Blog Post. As I was working on the pennants I thought about what color I wanted here. Since it's for a girl I wanted to use either pink or purple. There is a lot of bright pink in the fabric but also a hint of purple. So I auditioned both colors. Even though the pink made the pink dots pop I liked the purple better. It went better with the turquoise letters.


You can view this Blog Post to see how to Make Your Own Double Fold Bias Tape. Here is my finished "Bias Tape." It will get attached to the top of the pennants.


I opened the strips at the ends and cut them so they were straight. I folded them under 1/4" and refolded the strip. That will give me clean, finished ends. I left 20" tales on both ends. It is definitely necessary to pin this in place. Normally I pin perpendicular to the sewing machine needle.  Bias strips means that the fabric has a tendancy to move more than a straight of grain strip would so in this case I opted to pin in the same direction as the needle. I really wanted things to stay in place.It just meant that when I sewed the strips I had to go slowly.


It is necessary to prime the Blackboard fabric. This is done by running a piece of chalk in both directions to cover the entire piece of fabric. Then you wipe it off and do the same thing again. Once this was done I wrote 1st on it so the Birthday Banner says "Happy 1st Birthday." Here it is hanging between two trees in the park across the street from my house.


My hope is that hanging it will be a birthday tradition for Elsie as she grows up. She may or may not think it's "cool" when she's a teenager. But sometimes traditions hold strong. Who knows? Maybe it will be important to her and she'll still want to hang it up when she's 50; I hope so.

Happy Sewing and Crafting,
Carol


Sunday, March 16, 2014

Another Stitching Turned Applique Project

I've been changing up the Harvest Tea Towels pattern. Since I like to do different things, I decided that instead of stitching the designs on tea towels, I'm going to make it into a small wall hanging. I have one block left to finish stitching before I get to that project.


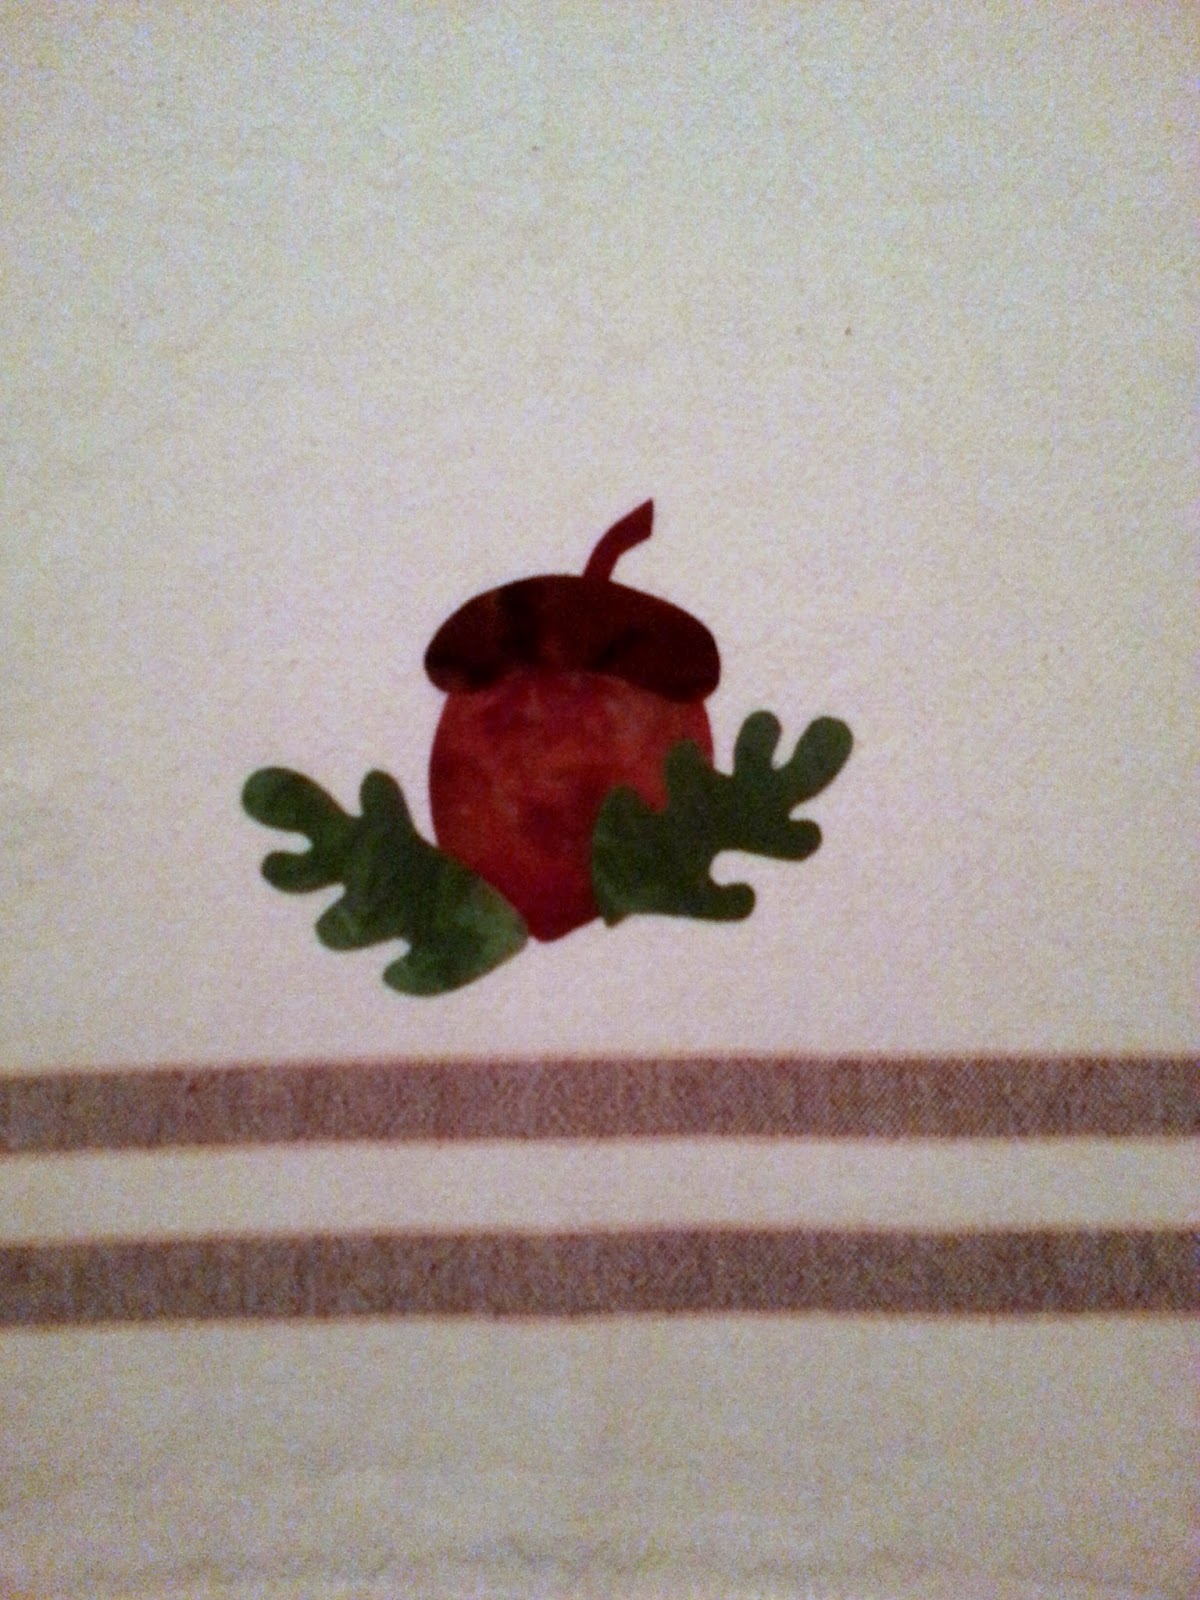
I recently finished the acorn block. While I was working on it I thought that it would make a nice applique block. 


I played around with this concept in another Blog Post with the Snowman from the Winter Partners Pillows Pattern.


I decided to use a Brown Striped Tea Towel. I found these pretty fall batiks and hand dyes to work with. I like them for fusible applique because they have a high thread count. A tea towel will be washed so I wanted fabrics that aren't likely to fray much.


I traced the REVERSE image of the design onto fusible web. Since the fusible goes on the wrong side of the fabric, if you don't reverse the design when you fuse it onto the background fabric (tea towel in this case) the image will be the mirror image of the drawing. This time I added a little extra to the pieces that will go underneath others, like the basic acorn shape and the stem. When I did the snowman I didn't do this and it made it a little harder to put the pieces in place. I decided not to add the bird. I kind of have a problem with the scale. Either the bird is super tiny or the acorn is HUGE. I roughly cut around the pieces and fused them to the wrong side of my fabrics.


I cut out each individual piece. I used an Applique Pressing Sheet (See previous Blog Post) to make the fusing process much easier.


I put each piece in place on top of the Pressing Sheet using the pattern as my guide. Once I had it exactly how I wanted it I fused the entire design onto the Pressing Sheet. 


Now the whole thing is one piece which makes it so much easier to put onto the towel. I just peeled it off and placed it where I wanted it on the brown tea towel. Then I fused the design onto the towel. 


I put a tear away stabilizer behind the design. You could also use a wash away such as Sticky Fabri-Solvy. Since the towel will be washed the Sticky Fabri-Solvy will dissolve in the washer. You want the stabilier behind so that when you stitch around the design it doesn't pucker.


Most of the time I use a short blanket stitch on  my machine to stitch around the fused pieces. I have also used a satin stitch and a free motion zig zag. In this case all I wanted to do was stitch it in place. I wasn't worried about adding texture to the design so the blanket stitch worked just fine. This is the setting I used.


This was a fast and easy project. It took me about an hour from the time I decided to do it until I was done stitching around the design. It will be a nice addition to my home this fall. It would also make a nice gift.


Happy Quilting,

Carol


Sunday, March 2, 2014

Snowman - From RedWork to Applique

I love to think outside the box. Most of my quilts are done in color combinations other than what the designer used. I tend to take liberties with a design. One thing I've been contemplating for awhile but haven't had time to experiment with is taking a Redwork design and turning it into an applique design.

The project I chose to experiment with is the snowman from the Bird Brain Designs pattern Winter Partners.


I chose this one because the design is large and seemed like an easy one to adapt to applique. Here is the drawing of the snowman.


Remember if you want to do something like this and you want it to look like the original design you need to REVERSE the image. In other words trace from the wrong side of the drawing, Here's the pattern taped to my studio window (on a rainy Southern CA day) so I can trace on the wrong side.


I traced the images onto fusible web.


I then fused them to the wrong side of my snowman fabrics.

One of my "Must Haves" is an Applique Pressing Sheet. 


Here is the snowman drawing with the pressing sheet over the top of it. I know it is a little hard to see but if you look closely you'll see the snowman design. I use the Lightbox App on my phone but needed my phone to take the picture. So when I'm working with it, the lines will show up better. 


I'm going to fuse the entire design onto the pressing sheet. It will be one solid piece that I will then transfer onto the background fabric. Here's the snowman transformed into fabric.


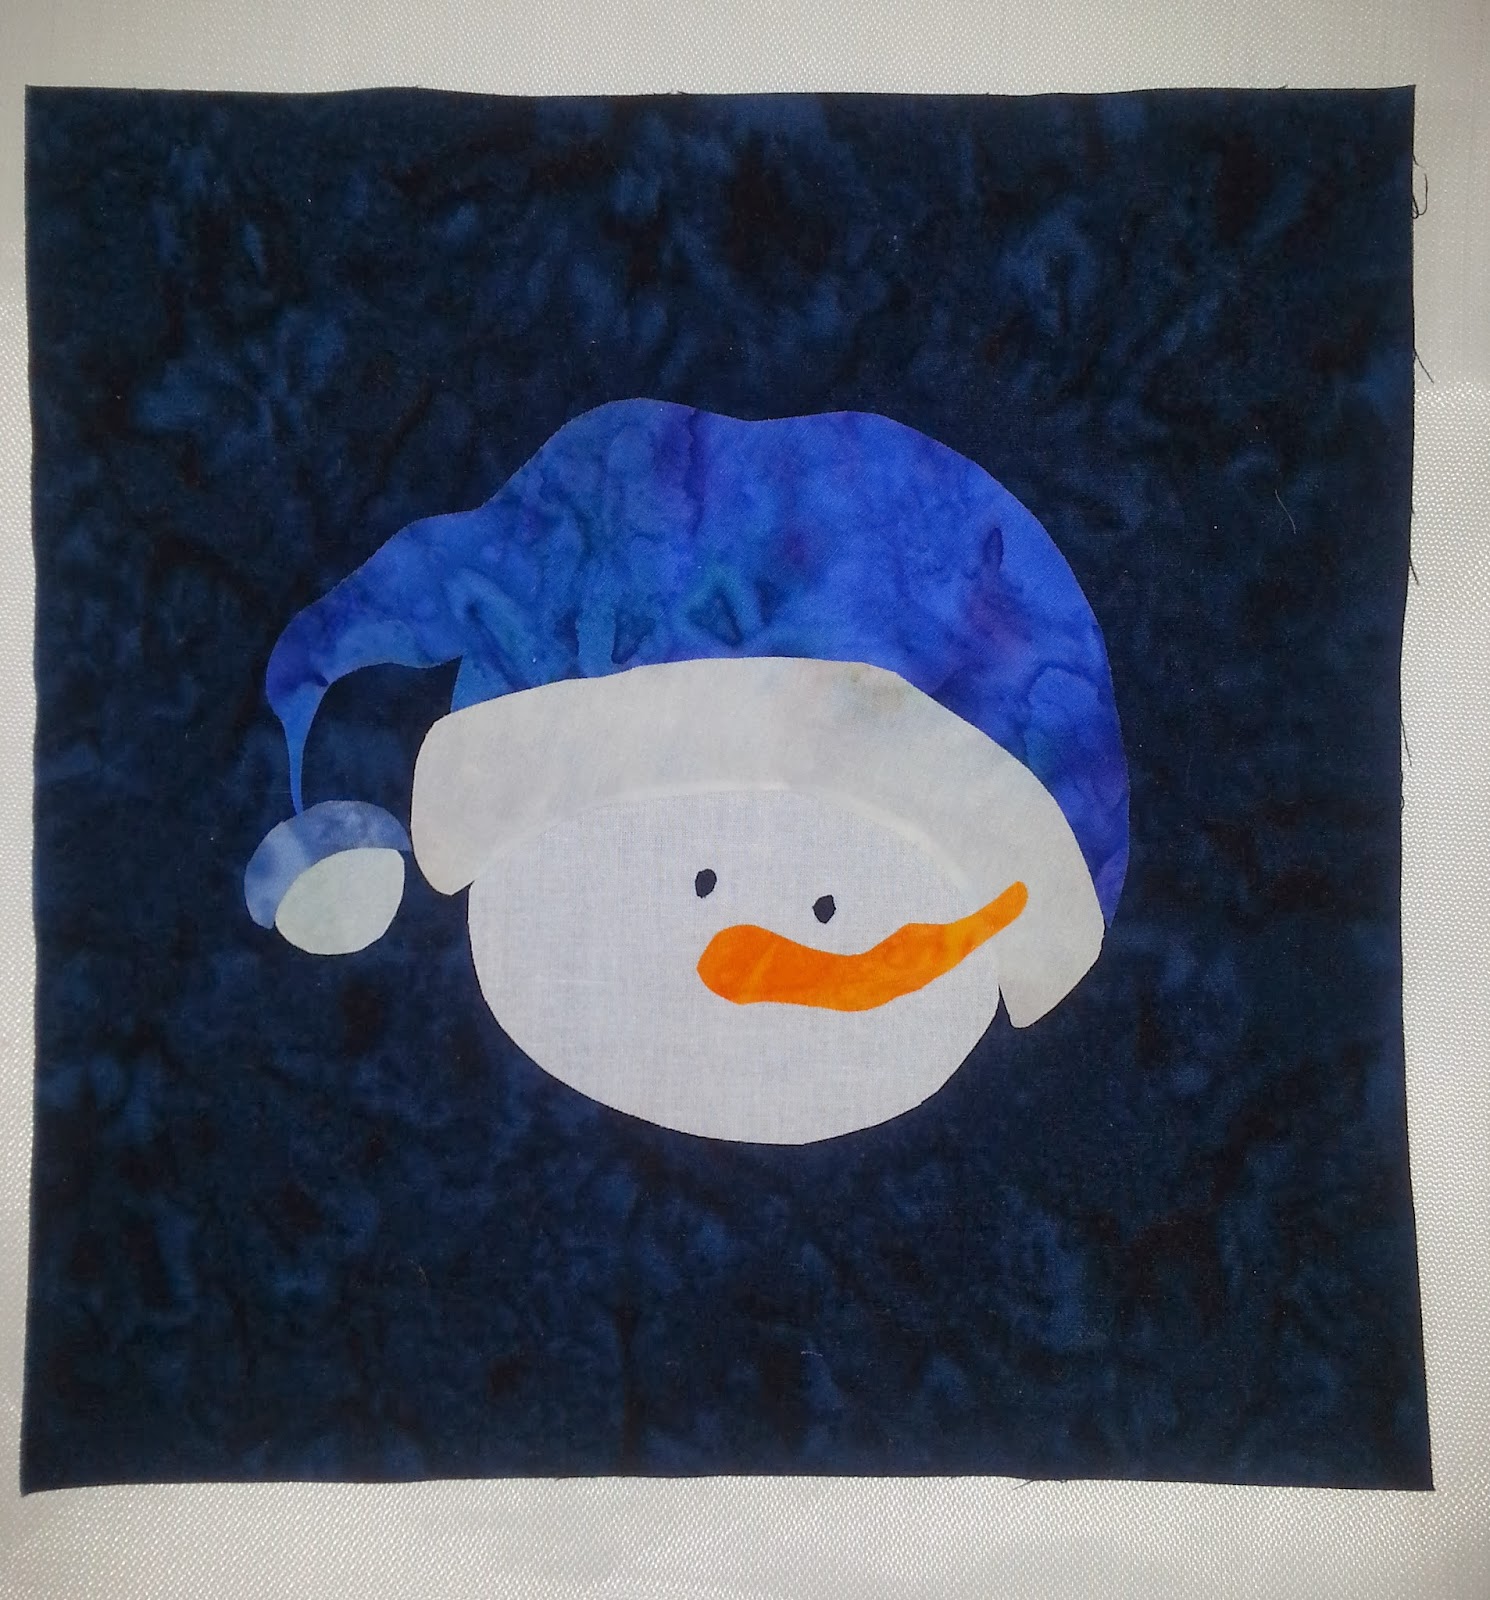
I chose a dark navy blue as my background. I finger pressed it in both directions to find the center of the fabric.


Then I found the center of the snowman design. I positioned it onto the background matching both centers (the snowman and the background). Then I fused the snowman in place.


He's a little crooked.  Guess I didn't get find the exact center of the snowman. It's such a whimsical design that it just adds a little more whimsy. At least that's my story and I'm sticking to it - lol.

I realized after I got everything fused down that I should have traced the eyebrows and smile when I had the fabric on the pressing sheet. I placed the pattern on top of the design and used my Point Turner to trace an indentation onto the fabric. Then I followed that with a Black Micron Pigma Pen.

I squared up the block and now it is time to add the borders. Check back soon to see how I finish it. 

Happy Stitching and Quilting,
Carol


Wednesday, November 6, 2013

New Design

I woke up on Sunday inspired to create. I started an applique tea towel pattern several months ago and had some ideas about how to finish it. Here's the inspiration for one of the new designs.

Photo and a drawing from EQ7
The basket was a little tricky to do. Here's what I ended up with. 


There's some adjusting to be done in the value of the apples. The yellow one disappears into the background. At 3:00 this morning I thought of an easier way to do the basket too. I'll give it a try and see if that idea works.

Happy Quilting,

Carol